Cornmeal Braids (9th World Bread Day)
 |
Hopefully, we'll fill her huge bread basket with all sorts of bread this year as well. Because baking bread is not only fun, it's also important to be aware how important it is to have bread on our tables daily. To appreciate it and help those who are less lucky than we are.
"The idea of World Bread is to honor our daily bread by baking a loaf on this day and blog about it. So we can show that baking bread is easy and makes also great fun."
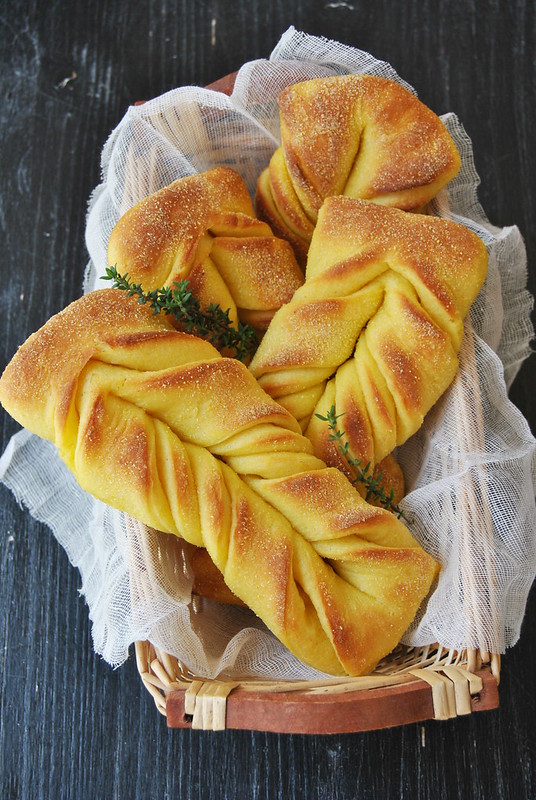
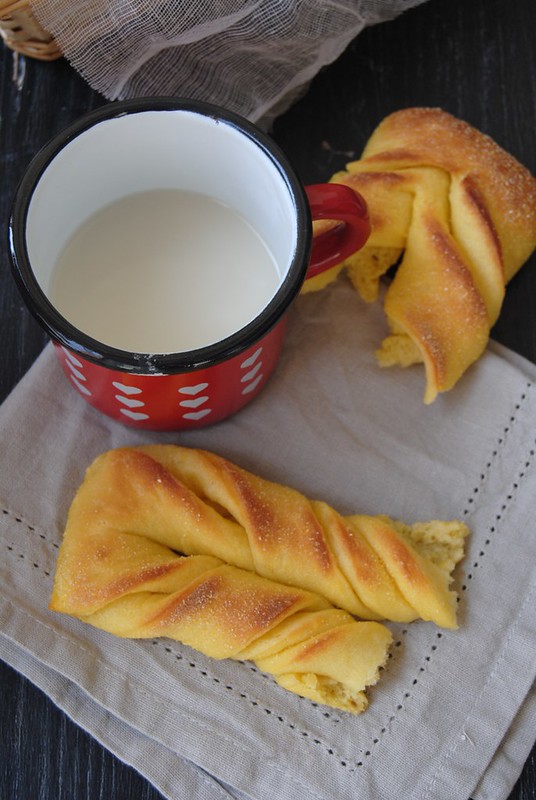
I'm joining this year with these Cornmeal braids.
I prepared those as soon as I noticed them here, and made them many times. I have slightly changed the ingredients in the recipe and adapted it to use with my sourdough starter.
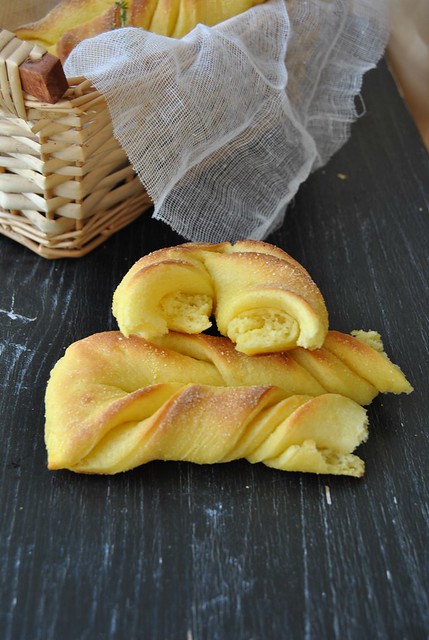
These are the most delicious savoury buns I have made in a long time. You really need nothing else and you simply can't stop munching on those. Perfect as a snack, but also to serve as a part of your breakfast or dinner table.
This was also the first time ever I baked bread with cornmeal and I loved the flavour.
Bake something nice today, be grateful for it, and share it with your family and friends.
Cornmeal Braids
(recipe adapted from Sweet and Salty)
* 200 g cornmeal
* 300 g wheat flour
* 200 g sourdough starter (50%-hydratation) / or 20 g fresh yeast
* 200 ml milk
* 100 ml water
* 2 eggs
* 1 teaspoon barley malt syrup
* 1,5 teaspoons salt
* aprox. 80 g salted butter
* polenta for sprinkling the kneading board

Feed your sourdough starter 3-4 hours before starting preparing the dough, to give it time to ferment. Take the quantity required by the recipe and put the rest back in the fridge.
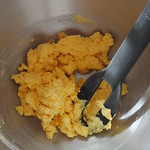
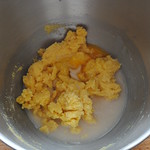
Put the cornmeal into a mixing bowl of your stand mixer, add the water and stir just enough for the flour to absorb the liquid. Seal with a piece of plastic wrap and let rest for 1/2 hour.
In a small mixing bowl, dissolve the sourdough starter with milk (at room temperature), adding the barley malt syrup as well. Use your hand or a whisk to mix it and dissolve.
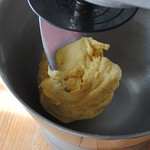
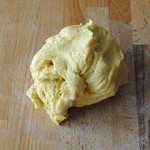
Add the dissolved starter, the eggs and the wheat flour to the bowl with the cornflour mixture, start kneading with a hook attachment. When the dough has come together, add the salt.
Continue kneading until the dough is smooth and comes off the sides of the bowl.
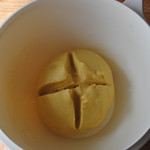
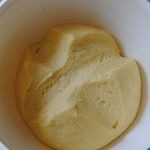
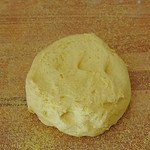
Transfer the dough to a lightly floured kneading board and knead shortly with your hands. Form a ball and place it in a clean bowl. Seal with a plastic wrap or lid and let proof for at least 3-4 hours or until doubled in size.
*If using the yeast, the procedure is the same, just the proofing time will be significantly shorter.
When the dough has doubled, drop it on the kneading board sprinkled generously with polenta and divide in two parts (work with each part separately, following the same procedure).
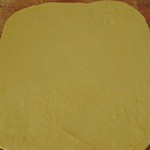
Using a rolling pin, flatten the dough forming a rectangle (size is not particularly important).
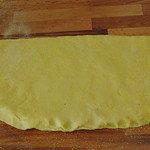
Spread a thin layer of softened butter on the lower half of the rectangle. Fold the empty part of the dough over the butter and press the edges to seal them.
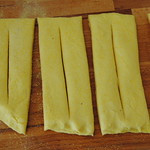
Using a sharp knife or a pizza cutter cut the dough into 4-5 cm wide stripes. Make a central incision in each stripe (not all the way through, but only up to 1,5 cm before each end).
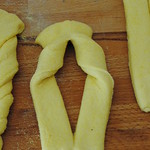
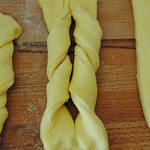
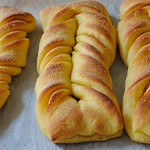
To form this kind of braid, pass one end through the central incision folding it through two or three times, depending on the length.
Place the braids on a baking sheet lined baking paper.
Cover the sheet with slightly oiled plastic wrap and let the braids proof for at least 1 hour. To check if they are ready for baking, press lightly with the tip of your finger. If a little indentation forms and then slowly disappears, they are ready.
Preheat the oven to 220°.
Prepare an emulsion, mixing olive oil and water in equal proportion in a small container with a lid, shake well and immediately brush the braids.
Put the braids in the oven, lower the heat to 200°C and bake until golden.
For even better results, throw a few ice cubes to the bottom of your oven when you start baking the braids, as the steam will help them rise better in baking and develop nice, crispy crust.
 |
(ricetta originale qui)
* 200 g di farina di mais fioretto
* 300 g di farina "0"
* 200 g di PM solida / o 20 g di lievito di birra fresco
* 200 ml di latte
* 100 ml di acqua
* 2 uova
* 1 cucchiaino di malto d'orzo
* 1,5 cucchiaino di sale
* circa 80 g di burro salato (o burro normale)
* polenta per spianatoia
Rinfrescate la pasta madre 3-4 ore prima di impastare dandole il tempo di fermentare. Prendete la quantità richiesta dalla ricetta e mettete il resto nel frigo.
Mettete la farina di mais nella ciotola della planetaria, aggiungete l'acqua e mescolate per farla assorbire. Lasciate in autolisi per 1/2 ora.
Spezzettate il lievito madre e mettetelo in una ciotola. Aggiungete il latte a temperatura ambiente e il malto, e mescolate con la mano o una frusta a mano per farlo sciogliere.
Aggiungete il LM sciolto al primo impasto di mais, unite le uova e la farina "0" e impastate con il gancio. Quando l'impasto inizia a formarsi, aggiungete il sale e continuate ad impastare fino a ottenere un impasto liscio che si stacca dalle pareti della ciotola.
Trasferite l'impasto sulla spianatoia leggermente infarinata e impastate ancora brevemente. Formate una palla e mettetela a lievitare in una ciotola, coprendola con la pellicola o con il coperchio.
Lasciate lievitare l'impasto fino al raddoppio, ci vorranno circa 3 o 4 ore.
* Se invece del LM state usando il lievito di birra, la procedura è la stessa, ma il tempo di lievitazione si riduce a circa 1 ora.
Quando l'impasto sarà raddoppiato, rovesciatelo sulla spianatoia cosparsa con la polenta.
Dividete l'impasto in due (lavorate separatamente seguendo la stessa procedura).
Stendete una parte del impasto con il mattarello, formando un rettangolo.
Spalmate la metà inferiore del rettangolo con il burro morbido. Piegate la pasta a metà, coprendo la parte imburrata. Premete i bordi con le punte delle dita.
Usando un coltello affilato o una rotella per la pizza, tagliate il rettangolo in strisce larghe 4-5 cm.
Incidete la parte centrale con un taglio che arriva a circa 1,5 cm dalla fine.
Formate le treccine, passando un estremità della striscia attraverso il taglio centrale due o tre volte.
Sistemate le treccine su una placca da forno rivestita con la carta da forno. Coprite la teglia con la pellicola leggermente unta e lasciate lievitare ancora 1 ora circa.
Per controllare se le trecce sono pronte per il forno, premete leggermente con la punta del indice. Se si forma una piccola fossetta che gradualmente scompare, l'impasto è pronto per la cottura.
Scaldate il forno a 220°.
Preparate un'emulsione con l'olio e acqua nelle proporzioni uguali, in un vasetto di vetro con il coperchio scuotendo per bene. Spennellate subito le trecce con l'emulsione e infornatele abbassando immediatamente la temperatura a 200°C.
Togliete le trecce dal forno non appena sono dorate in superficie e lasciatele raffreddare su una griglia.
Per ottenere un risultato ancora migliore, nel momento di infornarle, buttate qualche cubetto di ghiaccio sul fondo del forno per creare il vapore. Le trecce si svilupperanno meglio in cottura e avranno una crosticina sottile e croccante.
 | |
Kukuruzne pletenice
(recept s izmjenama preuzet s bloga Sweet and Salty)
* 200 g sitno mljevenog kukuruznog brašna
* 300 g bijelog pšeničnog brašna
* 200 g kvasa/startera (50%-na hidratacija) / ili 20 g svježeg kvasca
* 200 ml mlijeka
* 100 ml vode
* 2 jaja
* 1 žličica ječmenog slada
* 1,5 žličica soli
* oko 80 g slanog maslaca (može i obični)
* kukuruzna krupica/ palenta za posipanje radne površine
Nahranite kvas najmanje 3-4 sata prije nego ćete početi mijesiti tijesto. Odvojite potrebnu količinu a ostatak možete spremiti u hladnjak.
U zdjeli u kojoj ćete mijesiti tijesto, pomiješajte kukuruzno brašno i vodu. Ostavite da stoji 1/2 sata.
Kvas nakidajte na komadiće i stavite u manju zdjelu s mlijekom (sobne temperature ili sasvim malo umlačeno). Dodajte ječmeni slad. Razmutite malo ručnom pjenjačom ili rukom da se kvas otopi.
Dodajte kvas, jaja, pšenično brašno i (na kraju) sol u zdjelu s prvim tijestom od kukuruznog brašna i zamijesite tijesto (ručno ili stolnim mikserom s kukastim nastavkom za tijesta).
Kad je tijesto glatko i odvaja se od posude, premjestite ga na sasvim lagano pobrašnjenu podlogu i kratko izmijesite rukom. Oblikujte kuglu i stavite je u čistu zdjelu, pokrijte (poklopcem ili plastičnom folijom) i ostavite da se diže dok se ne udvostruči. S kvasom će vam trebati 3-4 sata najmanje.
Kad se tijesto udvostručilo, podijelite ga na dva jednaka dijela.
Razvaljajte svaki dio na radnoj površini posutoj kukuruznom krupicom (palentom) oblikujući pravokutnik. Premažite donju polovicu pravokutnika omekšalim maslacem, pa preklopite gornjom, praznom polovicom i stisnite krajeve.
Oštrim nožem ili kotačićem za rezanje pizze izrežite na trake širine 4-5 cm.
Svaku traku zarežite po sredini ali tako da gornji i donji rub ostanu cijeli.
Provucite gornji (ili donji, svejedno) rub kroz urez dva ili tri puta tako da se uvije i oblikuje neka vrsta pletenice.
Smjestite oblikovana peciva na pleh obložen papirom za pečenje. Pokrijte pleh(ove) prozirnom folijom i ostavite da se dižu ponovno najmanje sat vremena.
Zagrijte pećnicu na 220°C.
Pripremite emulziju od ulja i vode u jednakom omjeru tako što ćete staviti oboje u manju teglicu s poklopcem i dobro protresite. Odmah premažite pletenice uz pomoć kista i stavite ih peći. Čim stavite pleh u pećnicu smanjite temperaturu na 200°C.
Za još bolji rezultat, u trenutku kad stavite pleh u pećnicu ubacite na dno par kockica leda da dobijete paru koja će pomoći da tijesto još ljepše naraste u pečenju i da peciva imaju tanku hrskavu koricu.
Pecite peciva dok lagano ne porumene.
Ostavite ih da se ohlade na rešetki.
bilješka: ako radite sa svježim kvascem, postupak je isti samo će vrijeme dizanja biti znatno kraće.
Divno izgledaju! Zapazila sam ove pletenice još kod Irene, ali nekako su pala u zaborav, tako da mi je ovaj podsjetnik dobro došao
ReplyDeleteThey look really gorgeous! I'd love to make it with a jam or chocolate ;-)
ReplyDeleteGreat World Bread Day!
Che spettacolo! sai che non ho mai fatto un lievitato con la farina di mais?
ReplyDeleteO_O no va beh questo pane è spettacolare ^__^ mi strapiace!!!! ciaooooooo
ReplyDeleteChe belle queste treccine e....complimenti per il blog!!!!
ReplyDeleteMa che belle ste trecce al mais! Un'idea diversa per usare il mio lievito madre che ormai da neonato è giá adolescente e fa il bravo! :)
ReplyDeleteOdlično izgledaju, baš si ih prekrasno napravila !!
ReplyDeleteBeautiful! Thank you for participating in World Bread Day 2014!
ReplyDelete